Creating Pose Animations in Unreal
It’s possible to author 1-frame animation assets in Unreal Editor. This page shows you how.
This is useful if you don’t want to author animations in a separate 3D Program, and want to make poses quickly.
Open Your Skeletal Mesh Asset and Pose It
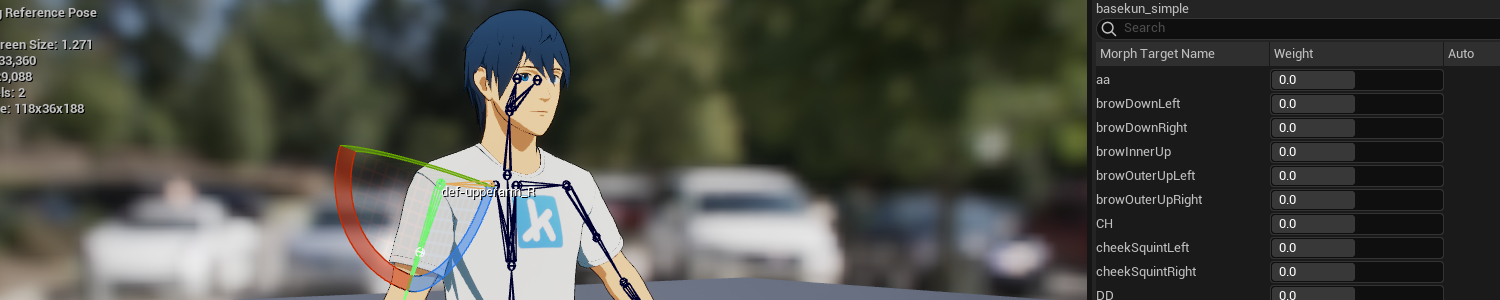
Open your avatar’s skeletal mesh asset in Unreal. This will open a model viewer.
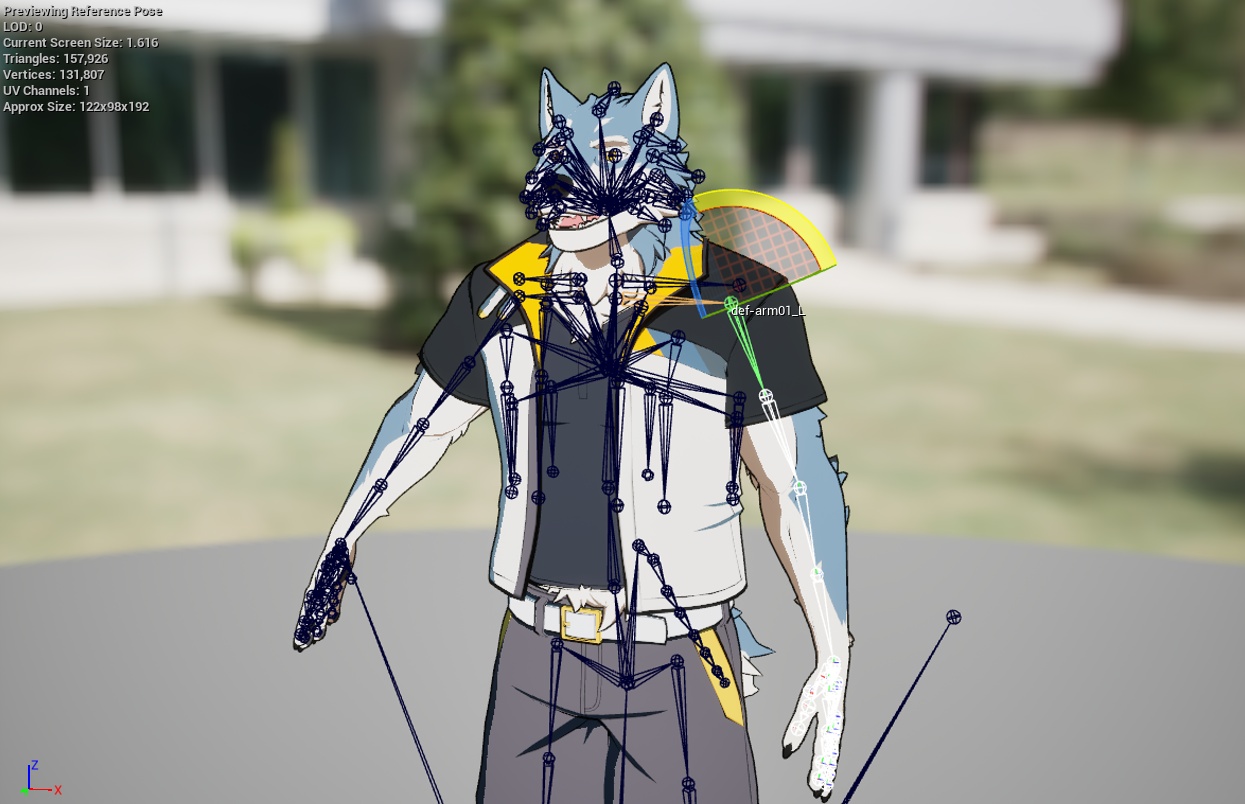
Make the skeleton visible by selecting Character > Bones > All Hierarchy in the viewport.
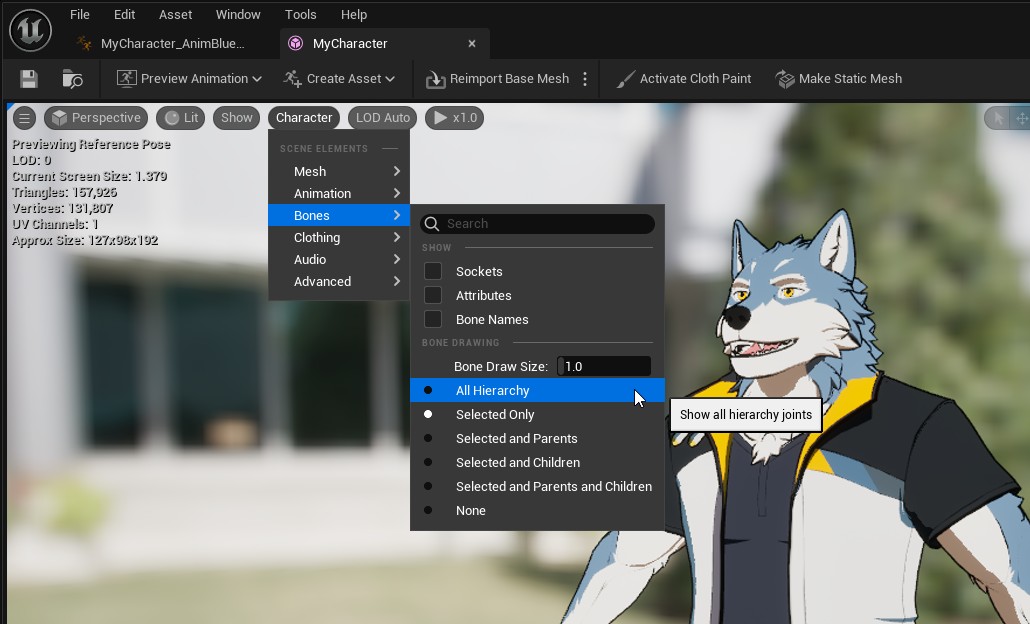
Now you can click on bones and use gizmos to translate, rotate, and scale them.
You can switch gizmos using buttons at the top of the viewport, or the following hotkeys:
- W (translate)
- E (rotate)
- R (scale)
Save as a Sequence
Once you’re happy with your pose, you can save it as a new animation.
To do so, above the viewport click Create Asset > Create Animation > Current Pose
Do not click "Create PoseAsset"! That will not create an animation you can use.
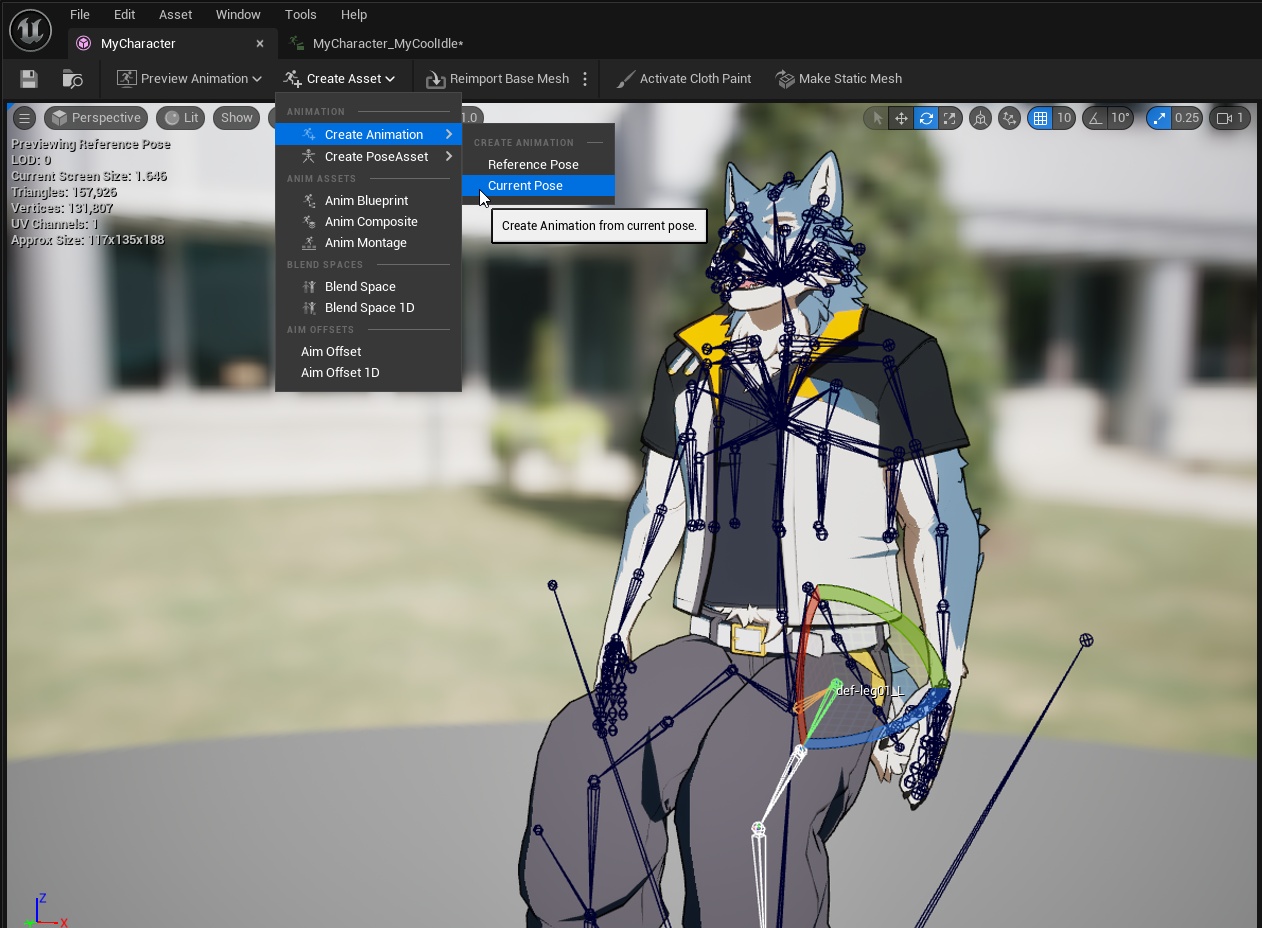
A dialog will appear asking you to choose a folder and name for your new animation.
Afterward, you will have a new animation sequence.

Using the Sequence
In Your Animation Blueprint
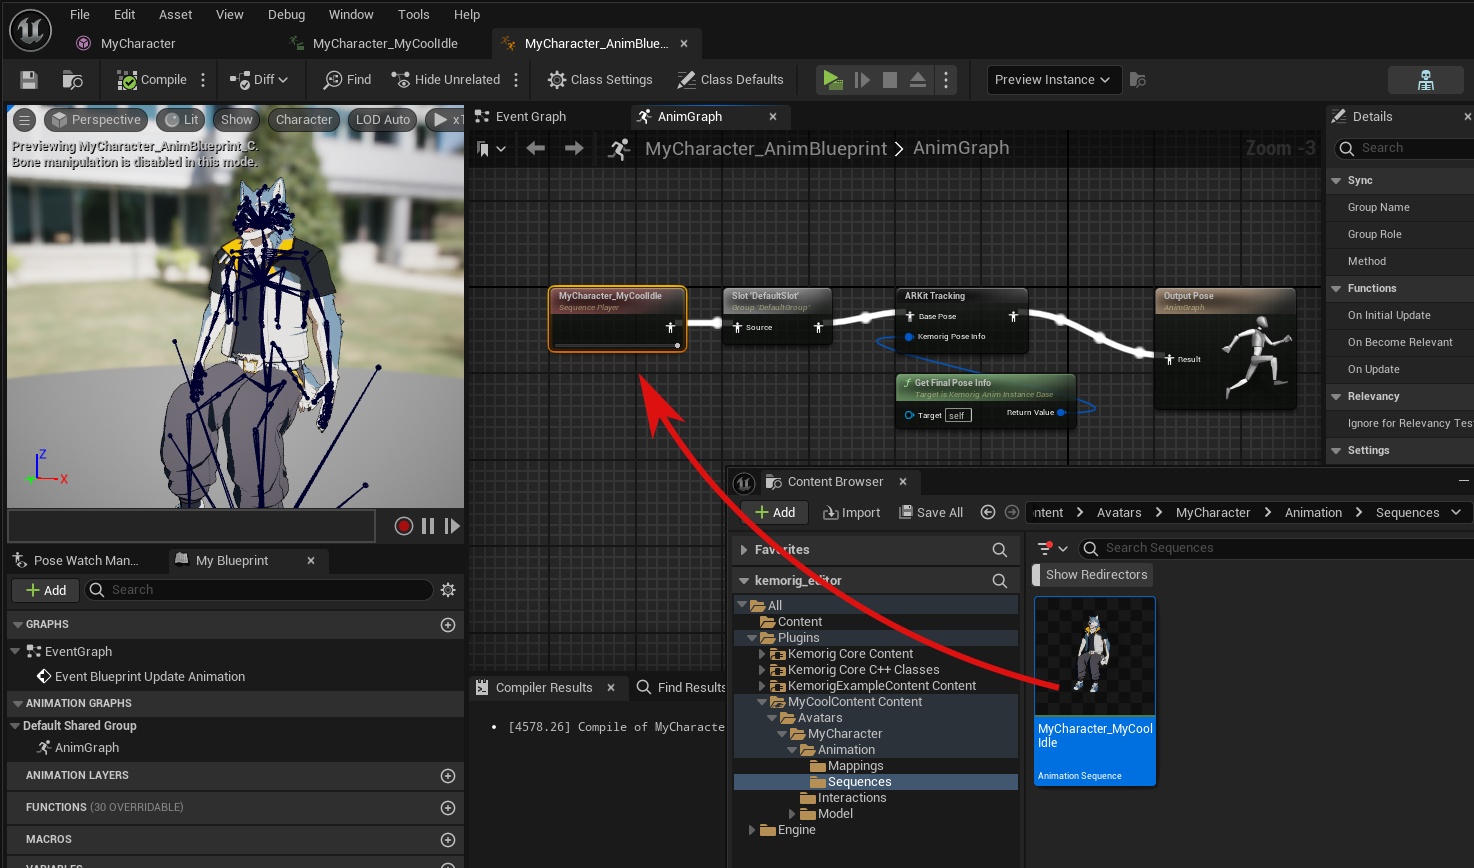
The simplest way to use your new animation sequence is to add it to the animation graph in your animation blueprint. This is not a robust solution, but it’s simple if you just need one pose.
Simply drag the asset into the animation graph and wire it in.
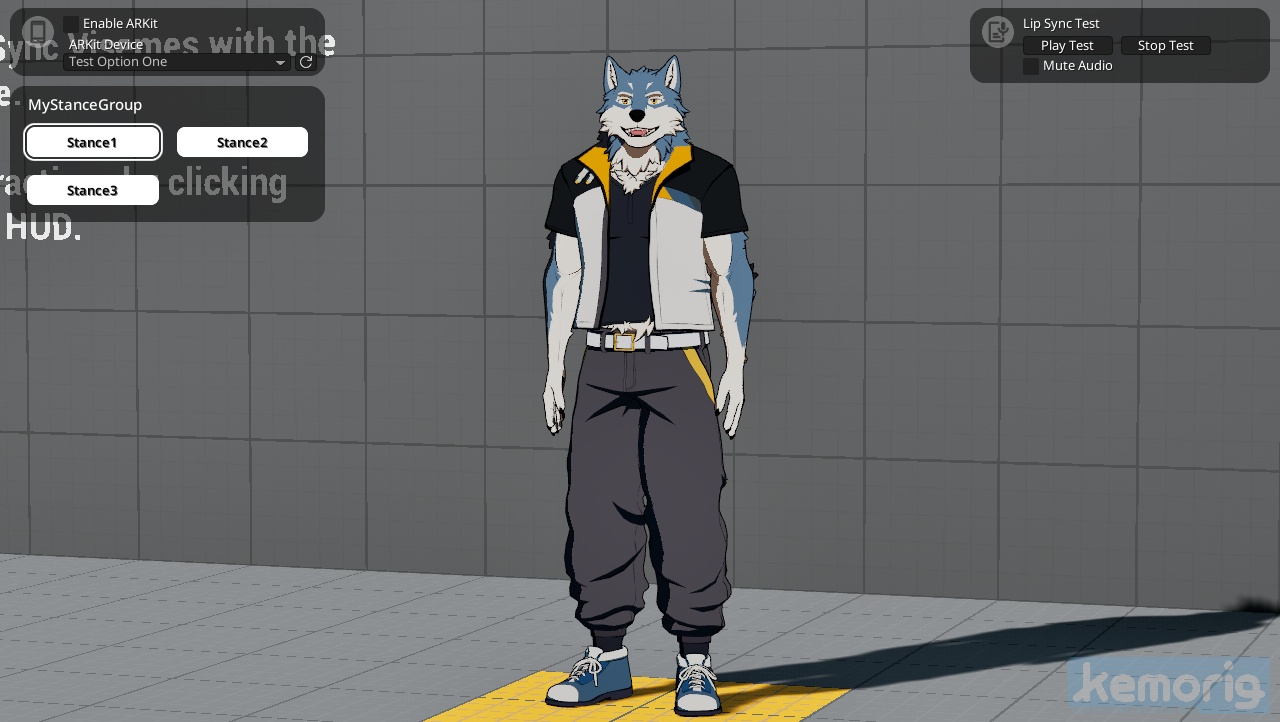
In a Stance
You can also use your new animation sequence in a Stance. For more information on setting up stances, see the following guide:

Stances
How to set up stances for your avatar