Importing Avatar Models
How to import character models into Unreal.
FBX Files
Models should be in FBX format to be imported. FBX files can be exported from most 3D Programs (such as Blender).
![]()
Your FBX must contain a mesh and skeleton. It can optionally contain textures and/or animations, but these are often imported separately.
Avatars From Other Apps
If you have an avatar from another app that you are converting for use in kemorig, more information is available here:

Converting Avatars from Other Apps (Unity, VRM)
Tips on converting avatars from other apps
Importing an FBX
To import, drag your .fbx file into the Content Browser in the desired folder.
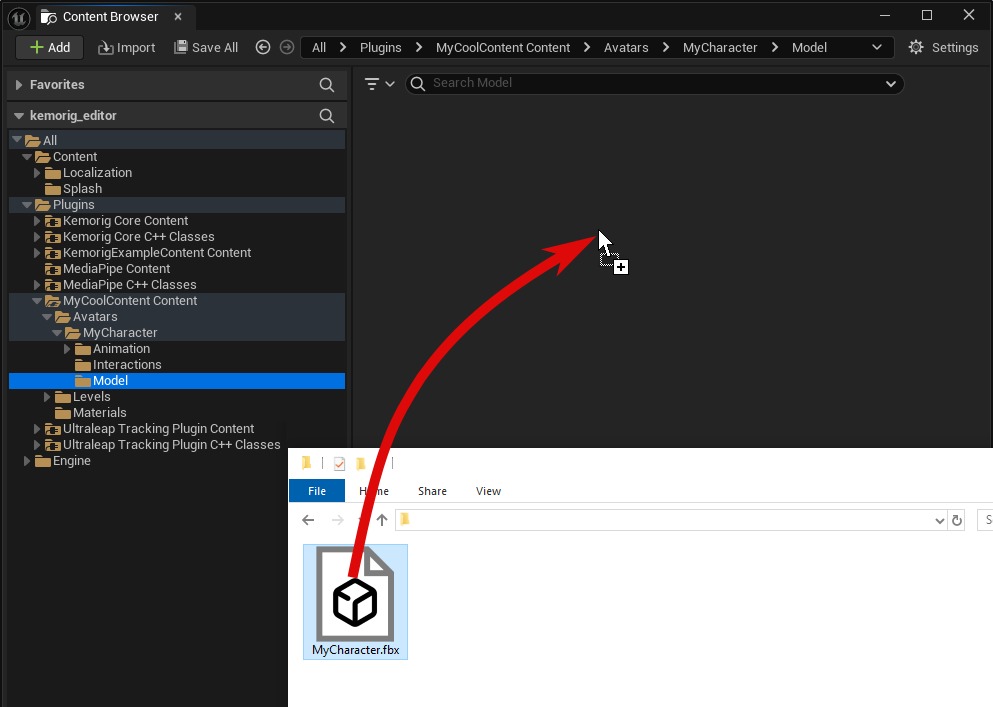
It will open an FBX Import Options window.
Import Options
Before importing, there are a couple options to set in the Mesh > Advanced section:
- Enable Import Morph Targets
- Set Normal Import Method to “Import Normals and Tangents” (optional but recommended)
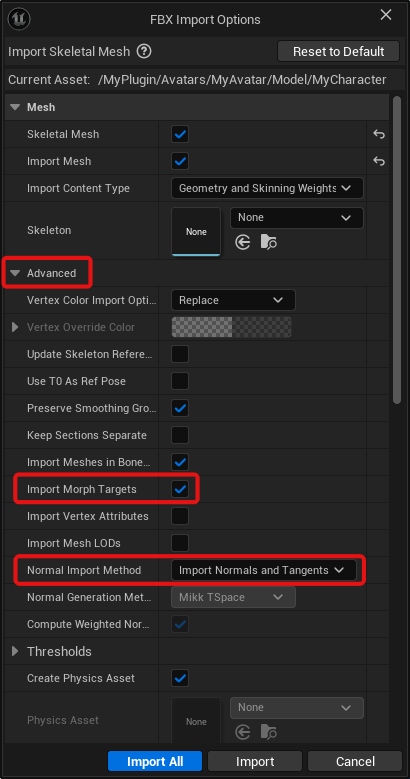
Once you’re happy with your import options, click Import
After Importing
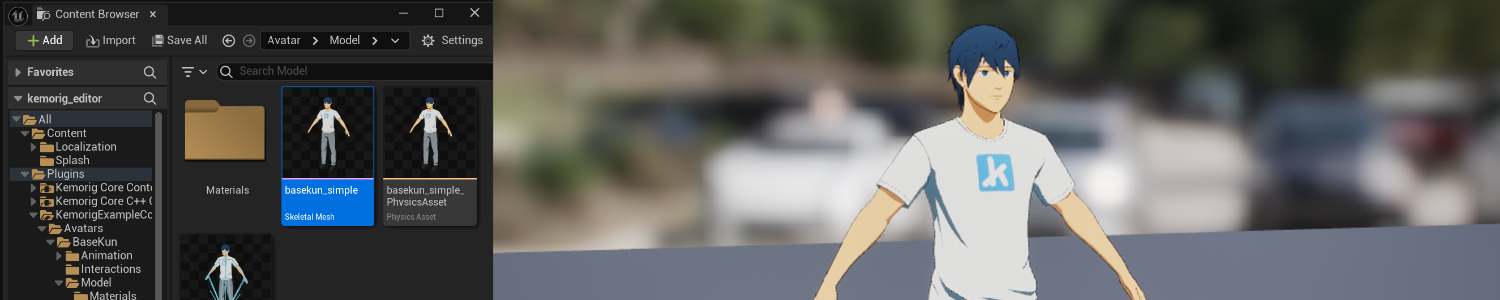
After importing your model you should have the following assets:
- a Skeletal Mesh
- a Skeleton
- a Physics Asset
- at least 1 Material (however many your model uses)
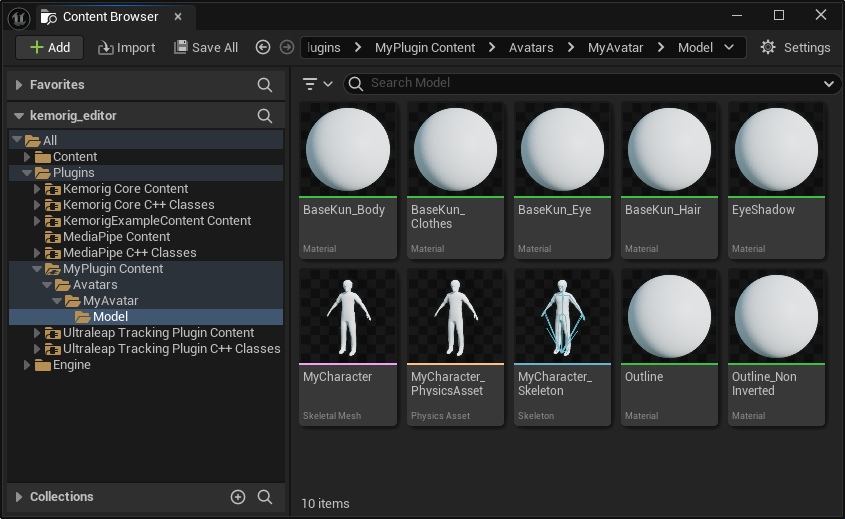
Depending on your import options, the Physics Asset and Material(s) may not be created.
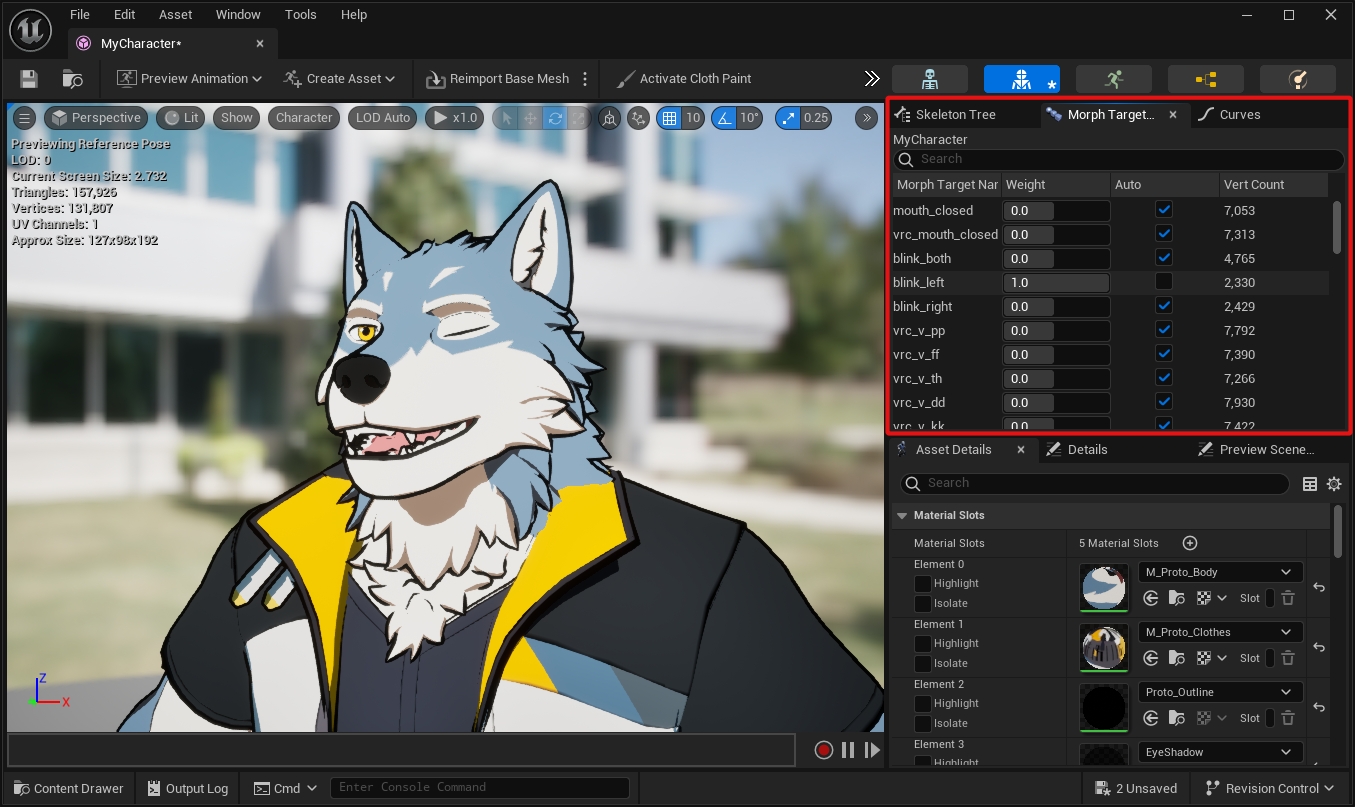
Verify Morph Targets
To double-check that your morph targets imported correctly, open the Skeletal Mesh asset and find the Morph Target panel.
You can preview each morph target by dragging the sliders.
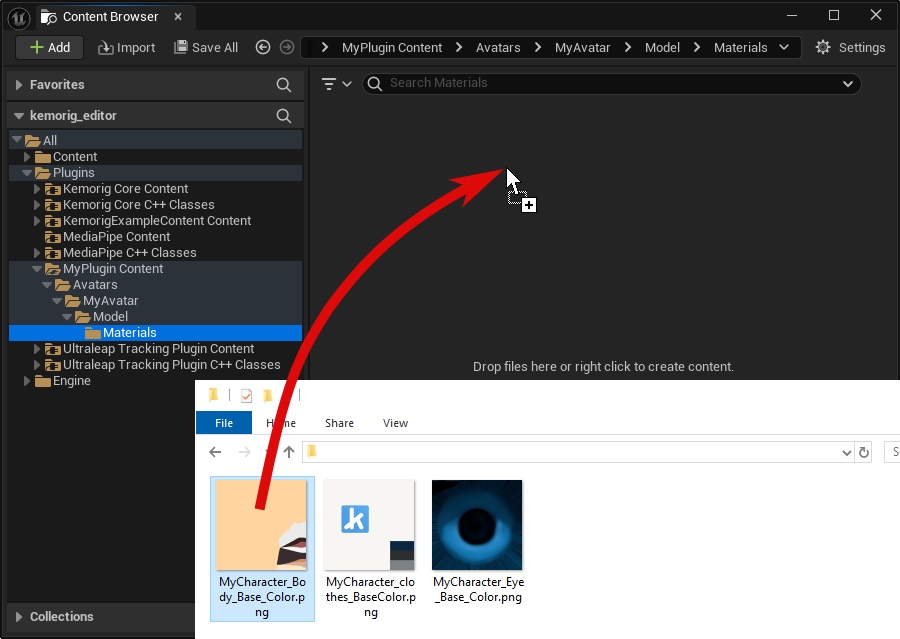
Importing Textures
Most likely, you will also need to import textures the model uses separately. Unreal supports a wide range of image formats; PNG is recommended.
To import, drag your texture files into the Content Browser in the desired folder.
Setting Up Materials
You will also need to create or edit materials for your model in order to use textures and make your character look the way you want.
See this page for more information about materials:
Making Materials
How to create materials in Unreal